
Print bleed might sound intimidating. But trust me, we’re not making a threat when we ask if your print-ready art has bleed. We’re setting you up for success.
Bleed basics
When an image or a design element is meant to extend to the edge of a printed document, it is said to bleed to the edge.
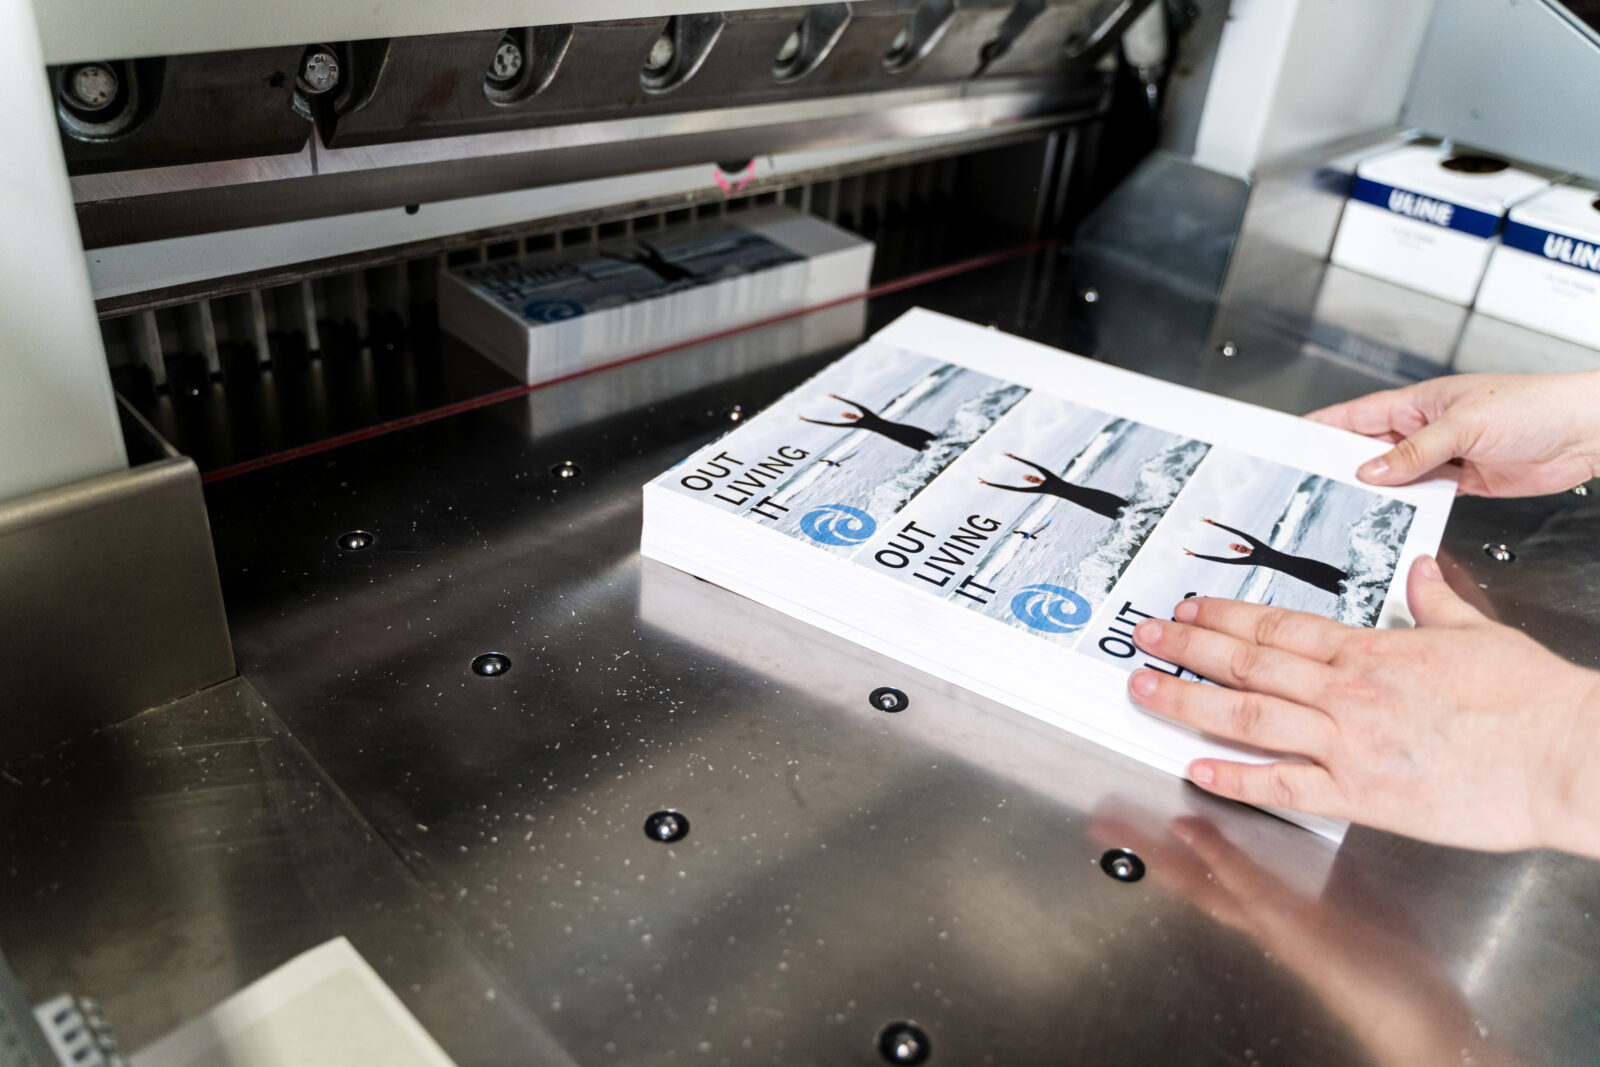
Most digital printers, including ours, cannot print to the edge of a sheet of paper. Instead, we print on larger sheets and cut down to finished size.
There can be, however, slight shifts during cutting that make it crucial that we are provided with extra space in the art, extending past the cut line, to mask these variations. That’s why we ask for bleed on your print-ready art.
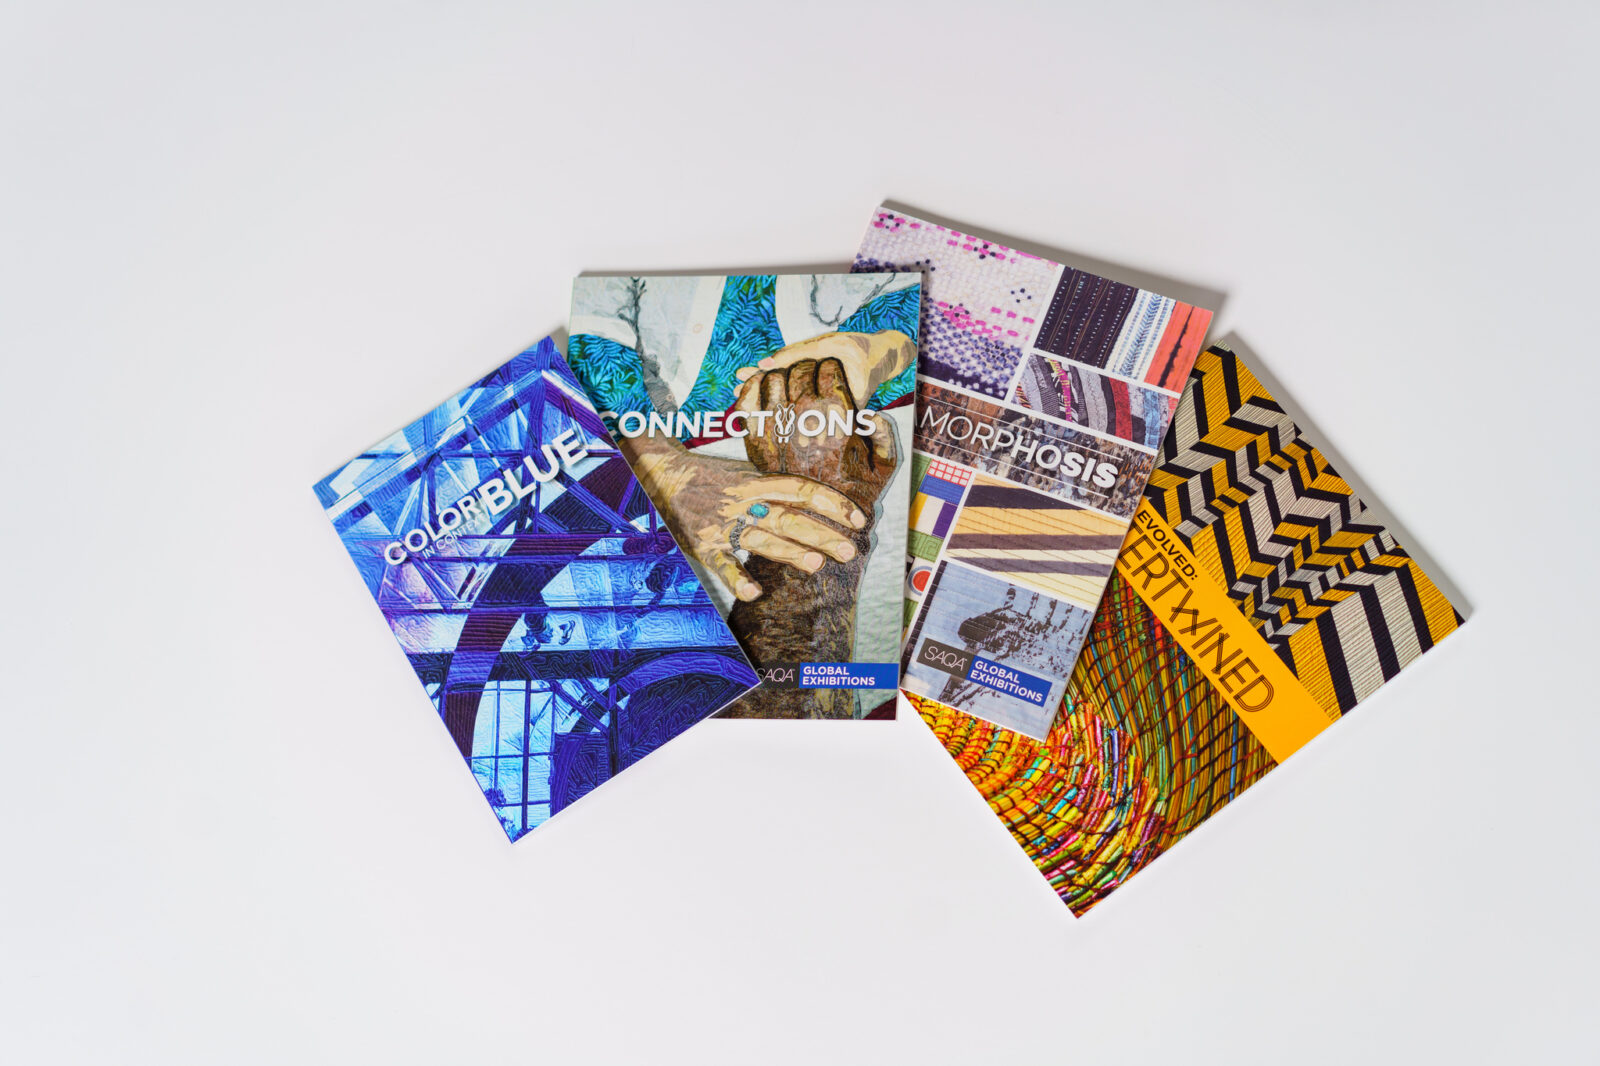
So what is print bleed?
Bleed is the part of your art that extends past the edge of your print area. The reason you need bleed on your print-ready art is to avoid having white borders.
That’s it.
It sounds sort of silly, but it’s the truth. Printed materials generally look more professional when the document appears to extend beyond the page. A white border screams “I printed this on my home computer” and signals to your audience that you were in a hurry or don’t care.
There’s nothing worse than sitting down at a fancy restaurant, and the menu has that white border all around it. Ok, there’s a lot worse than that, but you know what I mean.
How about walking into a showing of what could be your dream home and seeing the flimsy property brochure with a *crooked border and an un-scored fold. It makes the whole thing look cheap and sends the message that the real estate agent is going to make a killing because they aren’t spending any money on marketing. Not a good look.
*Yes, crooked. It’s actually really hard to line up your border art and the edge of the sheet absolutely perfectly. We can get really flippin’ close with our digital printers and precision finishing equipment, and as long as we’ve got bleed, we can make it look perfect. But a straight border is really unforgiving. If the edge of your art is off by a tenth of a degree, it’ll look terrible next to a straight line. Extend that art off the page, and you’ve just upgraded from blah to bougie.
What does bleed have to do white borders?
Bleed allows us to print slightly larger and cut sheets down to the exact size of the finished piece, bypassing the white border conundrum.
If you think about the print head moving from side to side on your home printer, it stops short of the edge of the paper. Because it’s spraying ink or toner down on the paper, you can imagine the mess if it kept spraying that ink past the paper and on to the print rollers themselves. It would cause all sorts of buildup and, eventually, the print head wouldn’t be able to work at all. Essentially, it’s like the printer would be bleeding ink.
The way to prevent this is to print on larger sheets of paper, then trim the excess after printing, so the ink does not run off the edge. Of course, if you want to print your standard 8.5” x 11” flyer at home, you are going to have a hard time finding a home printer that accepts the larger-sized paper, and probably don’t want to go through the trouble of cutting each one down individually. That’s where professional printing companies come in.
How do I set up my print file with bleed?
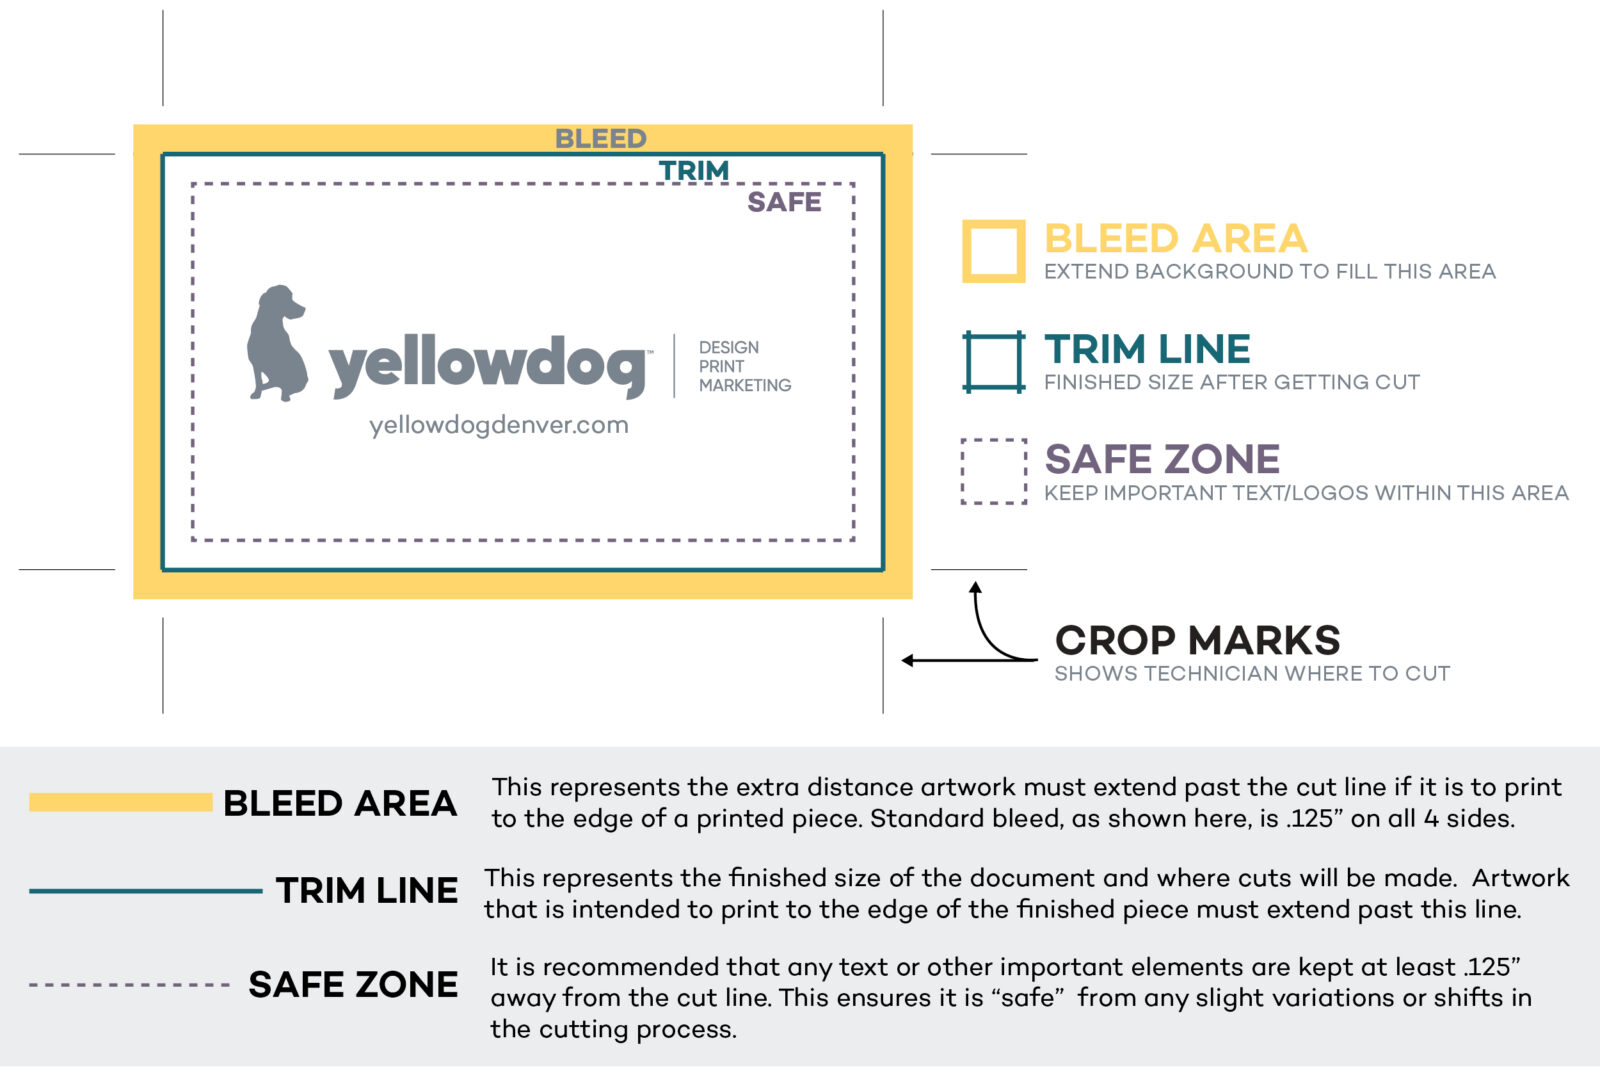
Basically, add a buffer (of about .125” on each side) and extend your art (keeping the important stuff within the safe zone, well inside your bleed line).
Getting your document set up to account for the bleed really depends on the software you are using, but a few principals always apply:
- Art files should be a total of .25” tall and wider than the finished product.
- You should see the borders within your art representing the bleed line.
- Art should extend beyond the bleed line, past the edge of your art board.
Let’s say you want to print an invitation and mail it. Invitations are commonly 5” x 7”, and you’ll easily find envelopes that fit that size. In your software of choice, set the page size to 5.25” x 7.25”, which will leave you with a .125“ bleed area on each side that can be cut off after you print.
Hit the easy button: fetch a template with bleed, crop, safe zones built right in. We’ve got downloadable templates for all the most common print projects that you can load right into your software. Just follow the instructions to create print-ready art without the headache.
Got fully designed art with no bleed? No problem. You can add bleed in the software of your choice or get support from a designer or prepress specialist. To add print bleed in Canva, first extend your artwork beyond the print area and select “crop marks and bleed” when you export your PDF for print.
AI and print bleed
We’re seeing more and more AI-generated art coming in for print. We’ve got a whole post on the can of worms that is AI and print, but that’s not what we’re here for. Let’s drill down into bleed and AI-generated art.
Your AI-generated art probably does NOT have bleed built in, even if the AI tells you it does. Just like with resolution, you might ask for crop and bleed, and your generative AI tool of choice might assure you it’s there, but it’s just… not.
Before submitting your AI-generated files for print, set it up in a print-ready template to check for bleed allowance, make sure the substance of your art is in the safe zone, and check the resolution at the actual size you want to print. You might find that AI-generated art is simply not print ready, and that’s ok. It can serve as a great jumping off point for a professional designer to bring your vision to life, complete with bleed and that unmistakably human touch that makes art work.
How should printing companies receive your files for printing with bleed?
Again, setting up bleed correctly really depends on the software you use. In short, it all starts with setting your page size to include the extra amount to be cut off (trimmed) after the document prints. Industry-standard print bleed size is .125” on all sides of the document. That makes your art .25″ bigger overall. When you save the document to send to the printer, include the trim marks, or let the printer know the final cut size.
———–
Hopefully, this has helped demystify the whole concept of bleed, and now you can go forth and create excellent-looking documents. For more information, email us at hello@yellowdogdenver.com or call us at 303-765-2000. We are here to help and make you look good!
Terms to know
Bleed: The portion of your art that extends beyond the border of the finished product that will be printed and then trimmed off.
Bleed line: Also known as print bleed lines, the demarcation between your safe zone and the bleed itself. The bleed line will be the line closest to the edge.
Cut line: The border line showing where the paper is cut, the actual border of what you want printed.
Crop marks: Basically the same as the cut line in a slightly different location. Crop marks are smaller lines in each corner showing the techs where to cut the paper down to (aka the cut line).
Safe zone: The area about .25” in from the cut line where art will not get cut off. In other words, the part of your print-ready file where art is safe.
Full-bleed: Design aesthetic where images or art extend past the edge of the paper with no visible borders.
Print-ready art: The actual files submitted for print. Print-ready art should include crop and bleed, be high-resolution, and saved as a pdf.
Print bleed FAQs
What is print bleed? Print bleed is the part of your art that extends beyond your print area, usually 0.125” on each side. It needs to be added to your design before art goes to the printer.
Why does my print-ready art need to include bleed? Most digital printers, including ours, cannot print to the edge of a sheet of paper. Instead, we print on larger sheets and cut down to finished size.
Why is print bleed important in professional printing? Bleed allows professional printers to overprint and cut sheets to size for a more polished look without white borders.
What’s the difference between crop and bleed? Bleed is the part of your art that extends past the borders of the finished product. Crop is where the sheets will actually be cut.
Where can I find templates for print-ready files with crop and bleed? YellowDog’s got a full catalog of downloadable templates for print-ready art.